Skip to content
BS4U FretVector
VIDEO TUTORIALS

Tutorials

Learn FretVector step by step.

VIDEO TUTORIALS
36 CUSTOMER TUTORIALS

Learn FretVector by following the same steps you perform in the app.

Every lesson is written for the FretVector customer: open the workspace, choose the command, make the setting, and confirm the result. Published YouTube or MP4 lessons play directly on this page when their URLs are connected in Appearance → FretVector Site Setup.

Start Here

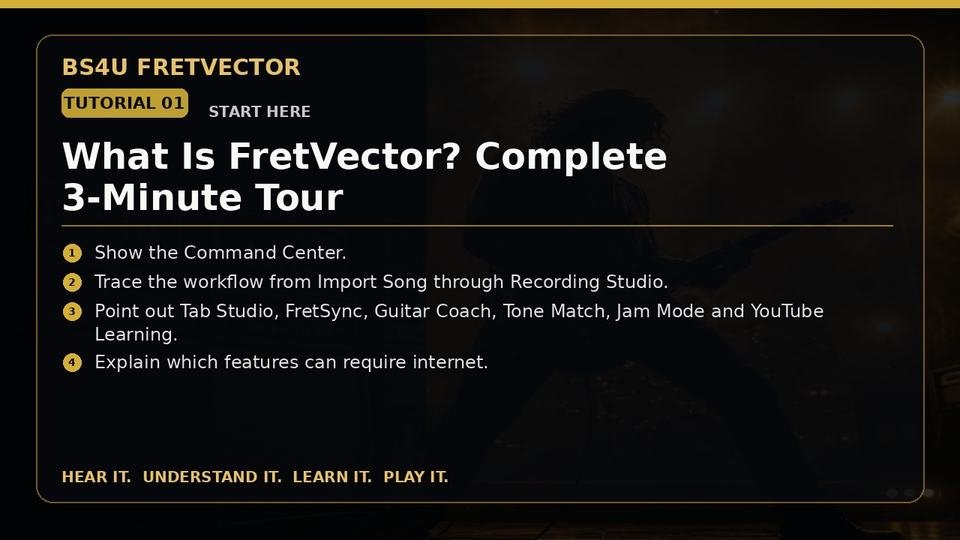
What Is FretVector? Complete 3-Minute TourCustomer Tutorial 01
Tutorial 01 • 3 min

What Is FretVector? Complete 3-Minute Tour

A fast tour of the complete connected guitar workflow.

Follow the lesson steps
  1. Open FretVector and start on the Command Center.
  2. Notice that the same project carries your song, analysis, tab, fretboard targets, tone, practice and recording information.
  3. Follow the main path: Import Song, Forge Analyze, Forge Stems, RockWheel, FretSync, Guitar Coach, Tone Match, Jam Mode and Recording Studio.
  4. Use Tab Studio when you want project-based tablature, and use YouTube Learning or the AI Guitar Assistant when you need online learning help.
  5. Remember that core desktop work is local, while account activation, AI and YouTube references require an internet connection.
Install FretVector on WindowsCustomer Tutorial 02
Tutorial 02 • 4 min

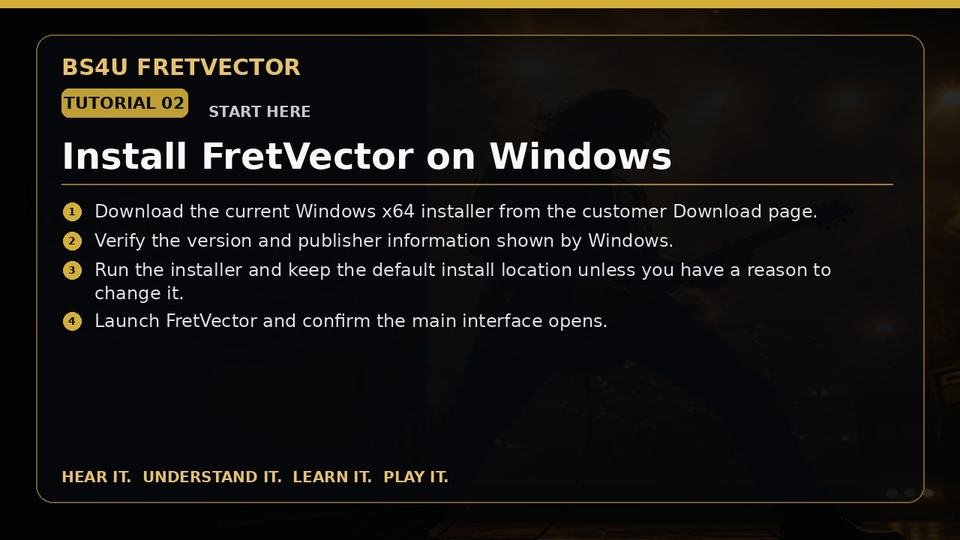
Install FretVector on Windows

Install the Windows application and complete first launch.

Follow the lesson steps
  1. Download the current Windows installer from your FretVector account or the Download page.
  2. Double-click the installer and approve the normal Windows installation prompt.
  3. Keep the default installation folder unless you have a specific reason to change it.
  4. Finish the installation, then launch BS4U FretVector from the Start menu or desktop shortcut.
  5. When the main FretVector window opens, continue to Tutorial 03 for activation.
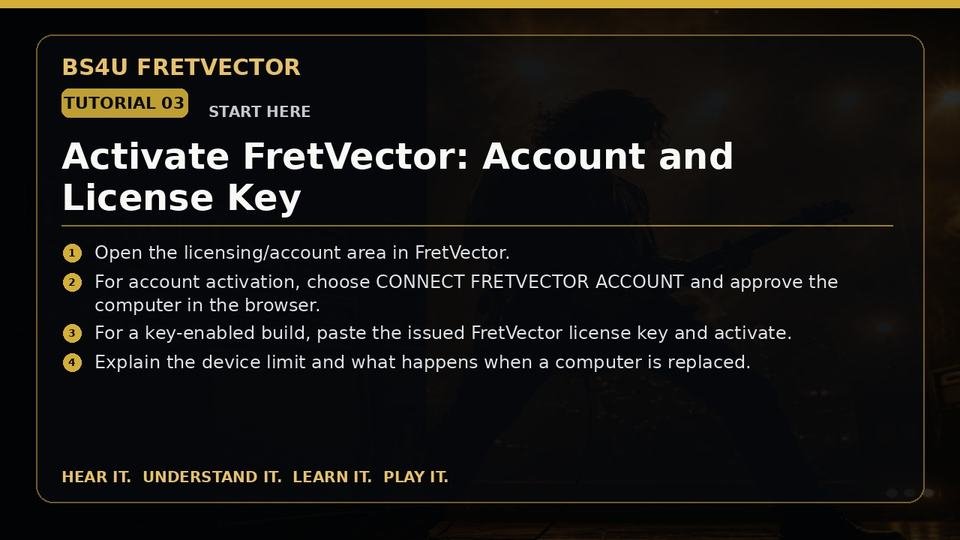
Activate FretVector: Account and License KeyCustomer Tutorial 03
Tutorial 03 • 5 min

Activate FretVector: Account and License Key

Activate by customer account or license key and understand device limits.

Follow the lesson steps
  1. Open FretVector and go to the license or account area.
  2. If you purchased with an account, choose Connect FretVector Account, sign in in your browser and approve this computer.
  3. If your copy supports direct key activation, copy the complete FretVector license key, paste it into the license field and choose Activate.
  4. Return to the app and confirm that the license status shows active.
  5. If you reach your device limit after replacing a computer, use the Support Center to request a device reset.
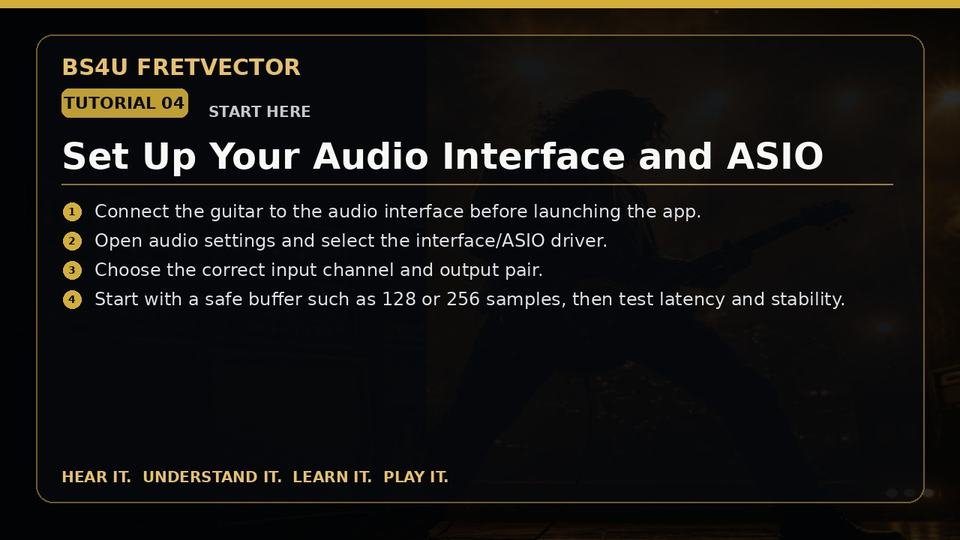
Set Up Your Audio Interface and ASIOCustomer Tutorial 04
Tutorial 04 • 6 min

Set Up Your Audio Interface and ASIO

Select the correct interface, driver, inputs, outputs and buffer size.

Follow the lesson steps
  1. Connect your guitar to Input 1 or the input you normally use on your audio interface.
  2. Open FretVector Audio Settings and select your interface's ASIO driver.
  3. Choose the same physical input channel where the guitar is connected, then select the correct output pair for your speakers or headphones.
  4. Start with a 128- or 256-sample buffer. Play the guitar and confirm that you hear it without pops or dropouts.
  5. If the audio breaks up, raise the buffer. If latency is too high and audio is stable, try lowering it.
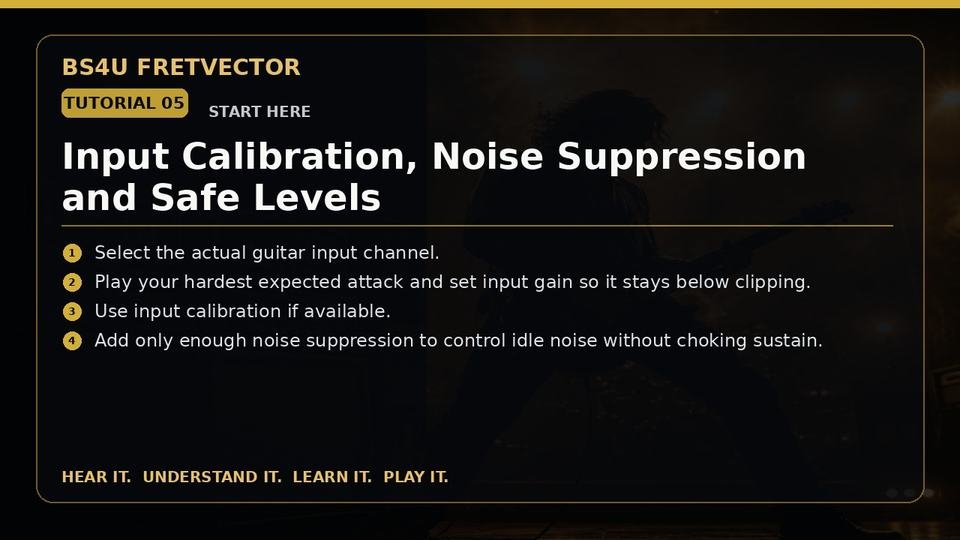
Input Calibration, Noise Suppression and Safe LevelsCustomer Tutorial 05
Tutorial 05 • 5 min

Input Calibration, Noise Suppression and Safe Levels

Set a clean input level without clipping or choking sustain.

Follow the lesson steps
  1. Open the input or calibration controls and select the guitar input you configured in the previous lesson.
  2. Play the guitar as hard as you expect to play during the song and watch the input meter.
  3. Adjust your interface gain so strong peaks stay below clipping.
  4. Run the FretVector input calibration if that control is available in your build.
  5. Add only enough noise suppression to control idle noise. If notes lose sustain or get cut off, reduce the suppression.
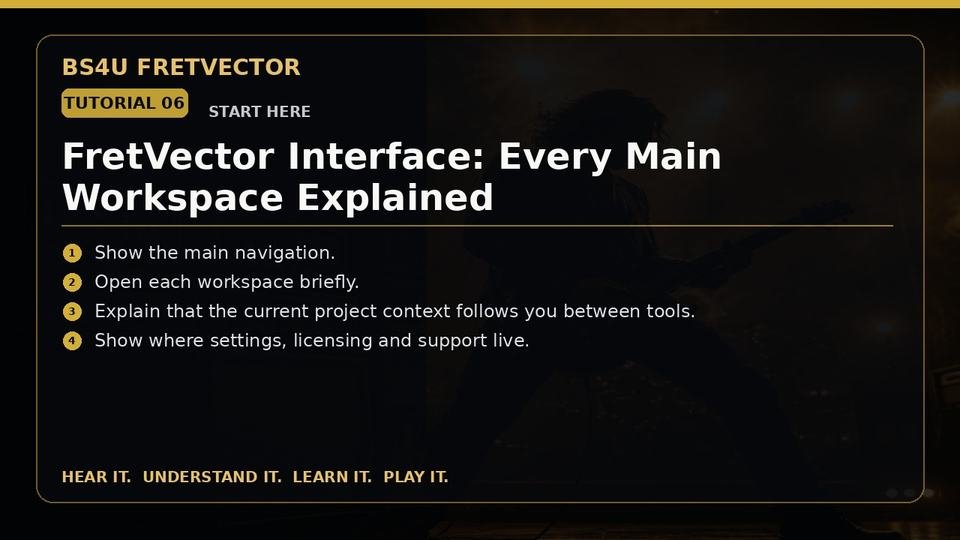
FretVector Interface: Every Main Workspace ExplainedCustomer Tutorial 06
Tutorial 06 • 7 min

FretVector Interface: Every Main Workspace Explained

Learn the main navigation and how the workspaces stay connected.

Follow the lesson steps
  1. Start at Command Center and look at the main navigation.
  2. Open Import Song and Forge Analyze to see where a song project begins.
  3. Open RockWheel, Tab Studio, FretSync and Guitar Coach to see the learning workspaces.
  4. Open Tone Match and Jam Mode for tone and practice.
  5. Open Recording Studio for takes and export, and use the account, settings and support areas when you need configuration or help.

Song Analysis

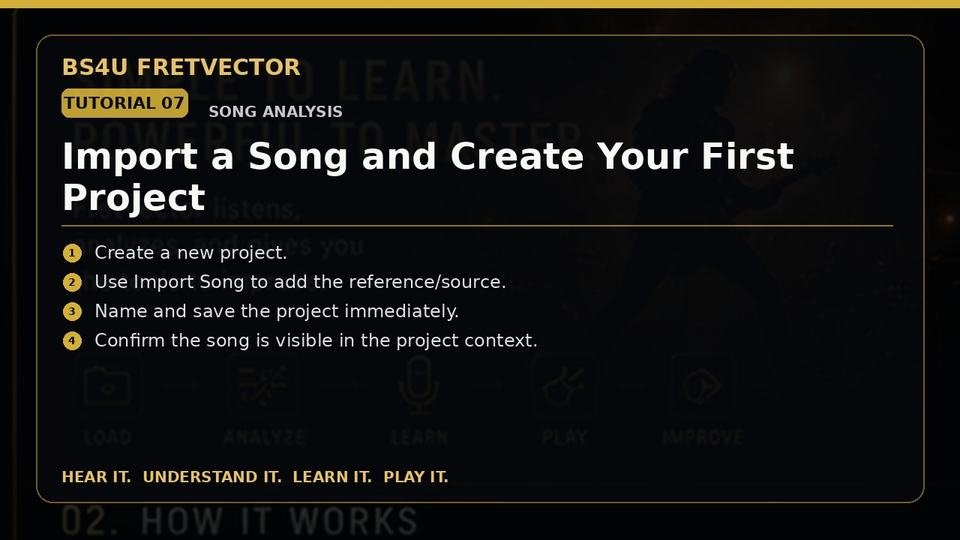
Import a Song and Create Your First ProjectCustomer Tutorial 07
Tutorial 07 • 5 min

Import a Song and Create Your First Project

Create a project, import the reference and save the session.

Follow the lesson steps
  1. From Command Center, choose New Project or the equivalent project command.
  2. Give the project a clear song name and save it before doing any analysis.
  3. Choose Import Song and select the audio or project reference you want to learn.
  4. Confirm that the song appears in the current project.
  5. Save again so your imported reference and project information are stored together.
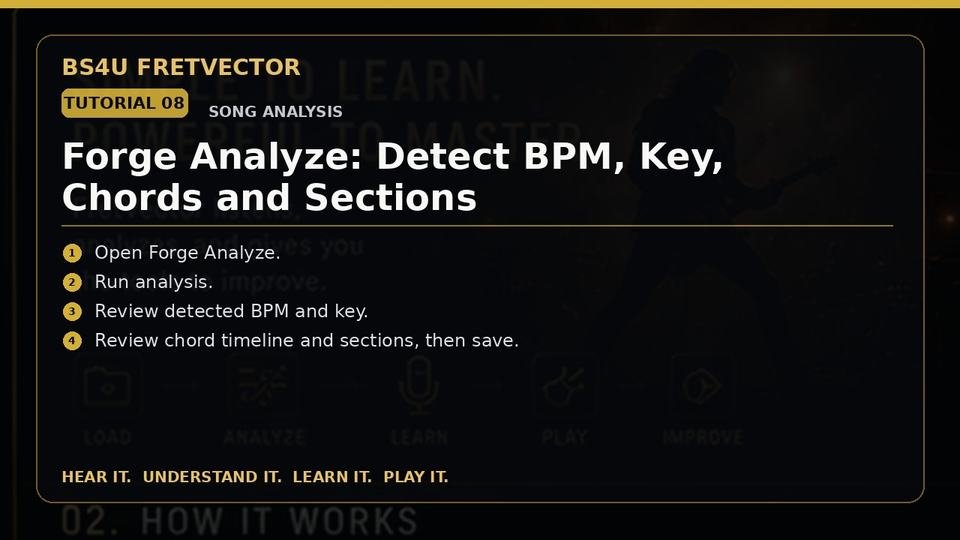
Forge Analyze: Detect BPM, Key, Chords and SectionsCustomer Tutorial 08
Tutorial 08 • 7 min

Forge Analyze: Detect BPM, Key, Chords and Sections

Run analysis and review the working musical map.

Follow the lesson steps
  1. Open the project that contains your imported song and choose Forge Analyze.
  2. Start the analysis and allow FretVector to build the working song map.
  3. Review the detected BPM and key first.
  4. Then review the chord timeline and named song sections such as Intro, Verse, Chorus, Bridge or Solo.
  5. Save the project after you have reviewed the results.
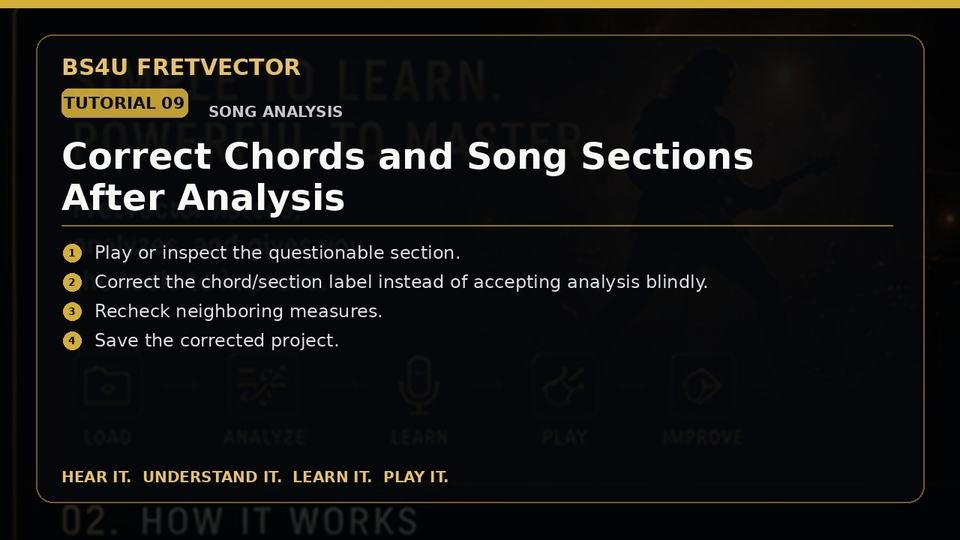
Correct Chords and Song Sections After AnalysisCustomer Tutorial 09
Tutorial 09 • 6 min

Correct Chords and Song Sections After Analysis

Review questionable results and correct the project map.

Follow the lesson steps
  1. Go to the chord or section that looks wrong in the analysis result.
  2. Play or inspect that short part of the song instead of changing the entire analysis.
  3. Select the incorrect chord or section label and replace it with the value you believe is correct.
  4. Check the measures immediately before and after the change so the edit fits the musical phrase.
  5. Save the corrected song map before moving to practice.
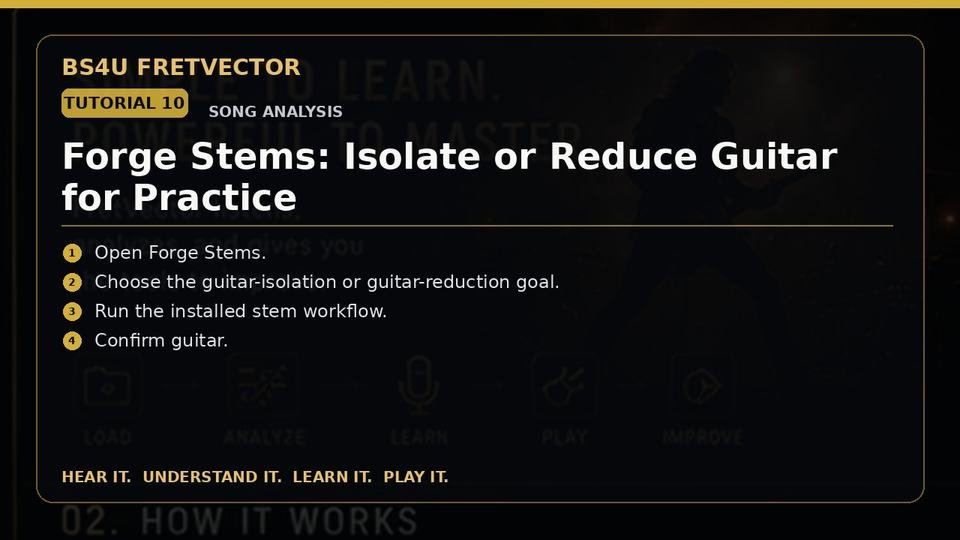
Forge Stems: Isolate or Reduce Guitar for PracticeCustomer Tutorial 10
Tutorial 10 • 7 min

Forge Stems: Isolate or Reduce Guitar for Practice

Prepare supported guitar-isolated or guitar-reduced practice stems.

Follow the lesson steps
  1. Open Forge Stems from the current song project.
  2. Choose the practice result you need, such as a guitar-focused stem or a guitar-reduced backing stem.
  3. Start the stem process and keep FretVector open until the process completes.
  4. When the stem files appear, audition them before practicing.
  5. Use the guitar-reduced version when you want room to play the part yourself, and keep the isolated guitar when you need a reference.
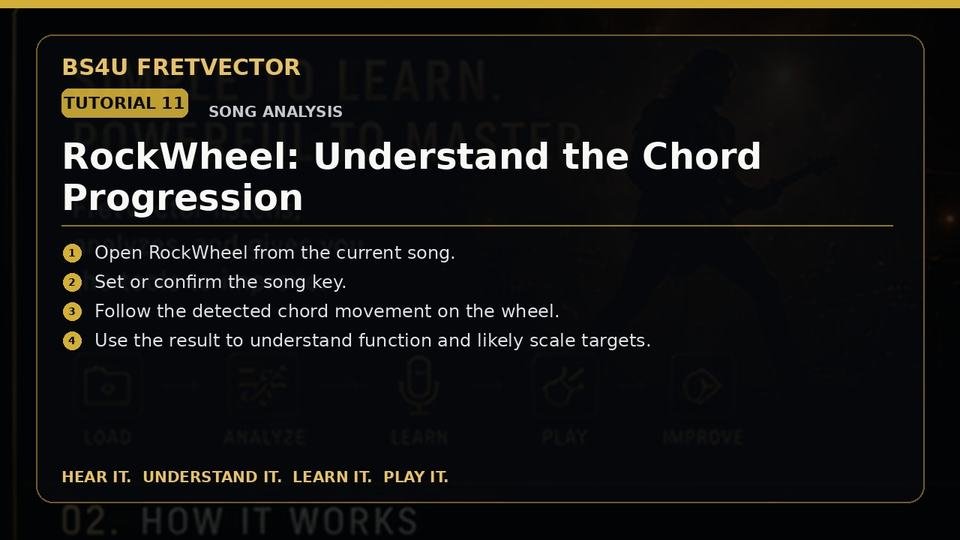
RockWheel: Understand the Chord ProgressionCustomer Tutorial 11
Tutorial 11 • 6 min

RockWheel: Understand the Chord Progression

Use RockWheel to understand harmonic relationships.

Follow the lesson steps
  1. Open RockWheel from the analyzed project.
  2. Confirm the song key shown by FretVector.
  3. Follow the song's detected chords around the wheel and notice how they relate to the key center.
  4. Select the section you are learning so you are not looking at the entire song at once.
  5. Use the result to choose likely chord-tone or scale targets, then send that musical target to FretSync.
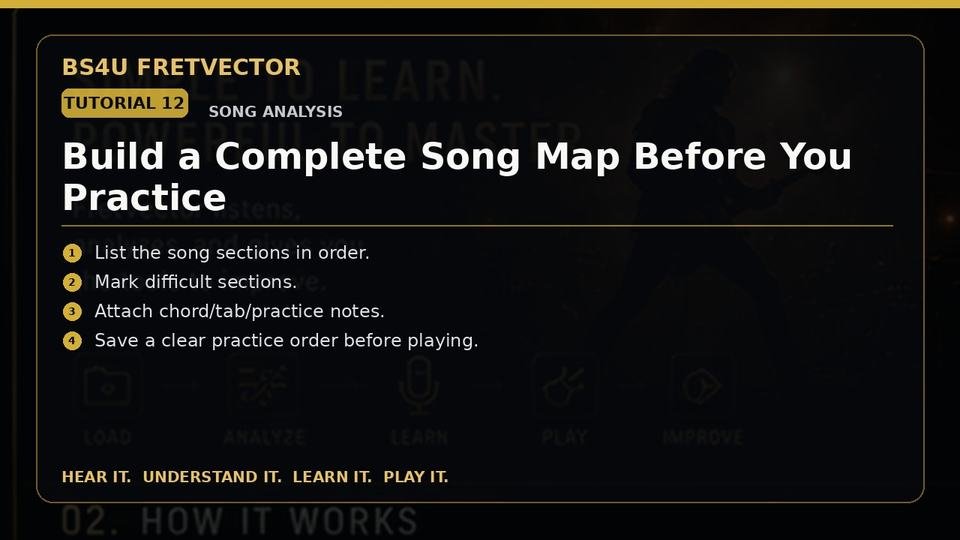
Build a Complete Song Map Before You PracticeCustomer Tutorial 12
Tutorial 12 • 6 min

Build a Complete Song Map Before You Practice

Turn song sections, chords and notes into a clear practice plan.

Follow the lesson steps
  1. Open the analyzed song and list the sections in performance order.
  2. Mark the sections you already know and the sections that need focused practice.
  3. Attach chord, tab or practice notes to the difficult sections.
  4. Choose a realistic practice order, starting with the hardest or most important passage.
  5. Save the song map so FretVector can carry that plan into Tab Studio, FretSync, Guitar Coach and Jam Mode.

Tab & Learning

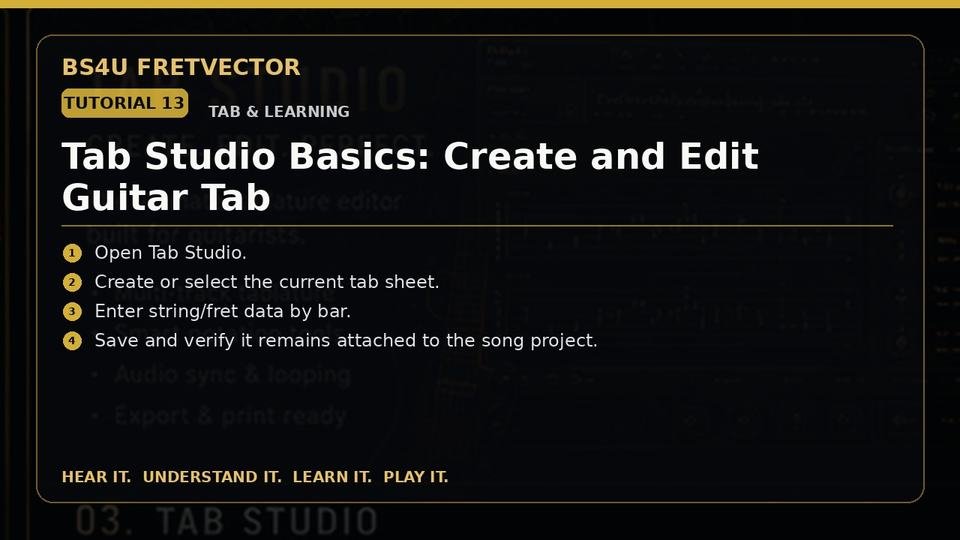
Tab Studio Basics: Create and Edit Guitar TabCustomer Tutorial 13
Tutorial 13 • 8 min

Tab Studio Basics: Create and Edit Guitar Tab

Create project-based guitar tablature.

Follow the lesson steps
  1. Open Tab Studio inside the current song project.
  2. Create a new tab sheet or select the tab sheet for the section you are learning.
  3. Choose the string and enter the fret number at the correct beat or position.
  4. Continue one bar at a time and keep the tab attached to the correct song section.
  5. Save the project and use the FretSync or Guitar Coach handoff when you want help practicing what you entered.
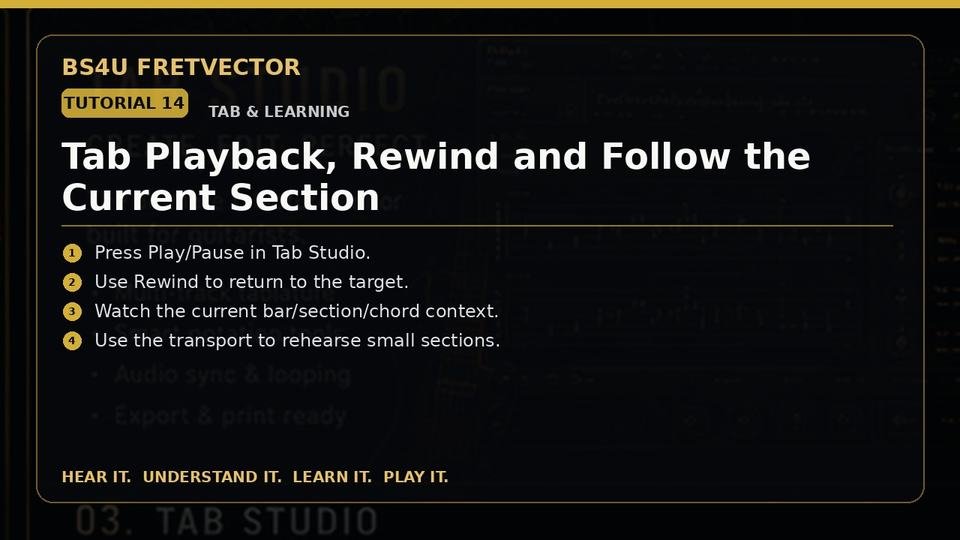
Tab Playback, Rewind and Follow the Current SectionCustomer Tutorial 14
Tutorial 14 • 6 min

Tab Playback, Rewind and Follow the Current Section

Use transport and project context while practicing tab.

Follow the lesson steps
  1. Open the tab sheet you want to practice.
  2. Press Play to follow the current tab position with the song context.
  3. Press Pause when you need to stop on a fingering or rhythm.
  4. Use Rewind to return to the beginning of the target passage.
  5. Practice a short section repeatedly instead of restarting the entire song each time.
Print Tab, Export Tab and Export MusicXMLCustomer Tutorial 15
Tutorial 15 • 5 min

Print Tab, Export Tab and Export MusicXML

Print and export work for practice or compatible notation tools.

Follow the lesson steps
  1. Open the finished or current tab sheet in Tab Studio.
  2. Choose Print Tab when you want a paper or PDF-style practice copy.
  3. Choose Export Tab to save the FretVector tab in its supported export format.
  4. Choose Export MusicXML when you need to move compatible notation information into another notation application.
  5. Open the exported file once to confirm it contains the expected measures.
FretSync: See Exactly Where to PlayCustomer Tutorial 16
Tutorial 16 • 7 min

FretSync: See Exactly Where to Play

Map notes, chords and scale targets onto the fretboard.

Follow the lesson steps
  1. Open FretSync from the current song, chord or tab target.
  2. Confirm the chord, scale or note target shown at the top of the workspace.
  3. Look across the fretboard and identify the highlighted playable positions.
  4. Choose one practical position around the frets you are already using instead of trying to cover the entire neck.
  5. Play the highlighted notes slowly, then move back to Tab Studio or Guitar Coach when the position feels comfortable.
Guitar Coach: Turn a Song Into a Practice PlanCustomer Tutorial 17
Tutorial 17 • 7 min

Guitar Coach: Turn a Song Into a Practice Plan

Build focused practice steps from the current project.

Follow the lesson steps
  1. Open Guitar Coach while the song and target section are active.
  2. Choose the section you want to improve.
  3. Ask for or select a practice plan based on that section.
  4. Work through the plan at a slower tempo first, focusing on clean rhythm and correct notes.
  5. Increase tempo only after you can repeat the section cleanly, and keep notes in the project about what still needs work.
Ask AI About Your Current TabCustomer Tutorial 18
Tutorial 18 • 6 min

Ask AI About Your Current Tab

Use project-aware AI to ask concrete tab questions.

Follow the lesson steps
  1. Open the tab sheet and select the measure or passage you have a question about.
  2. Choose Ask AI About Tab.
  3. Ask one specific question, such as which fingering is easier, what chord the notes outline, or which scale position fits the measure.
  4. Read the answer and compare it with the actual tab and FretSync fretboard view.
  5. Play the suggestion before accepting it as part of your practice plan.
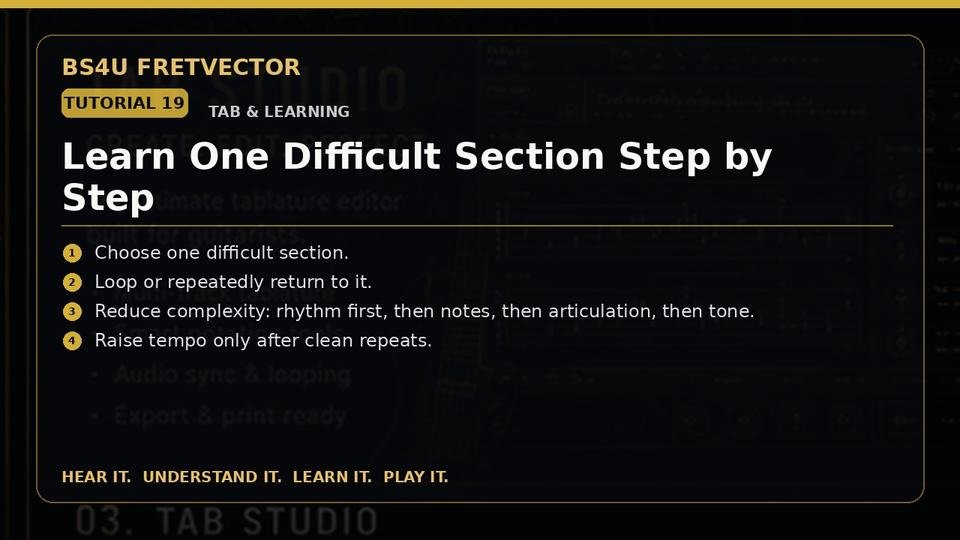
Learn One Difficult Section Step by StepCustomer Tutorial 19
Tutorial 19 • 8 min

Learn One Difficult Section Step by Step

Combine tab, FretSync, Coach, looping and tempo strategy.

Follow the lesson steps
  1. Choose one difficult section instead of trying to fix the whole song.
  2. Use Tab Studio to confirm the notes and rhythm.
  3. Use FretSync to choose a comfortable fretboard position.
  4. Use Guitar Coach to slow the task down and organize the practice steps.
  5. Loop or rewind the passage until you can repeat it cleanly, then raise the tempo and add the final tone and articulation.

Tone & Practice

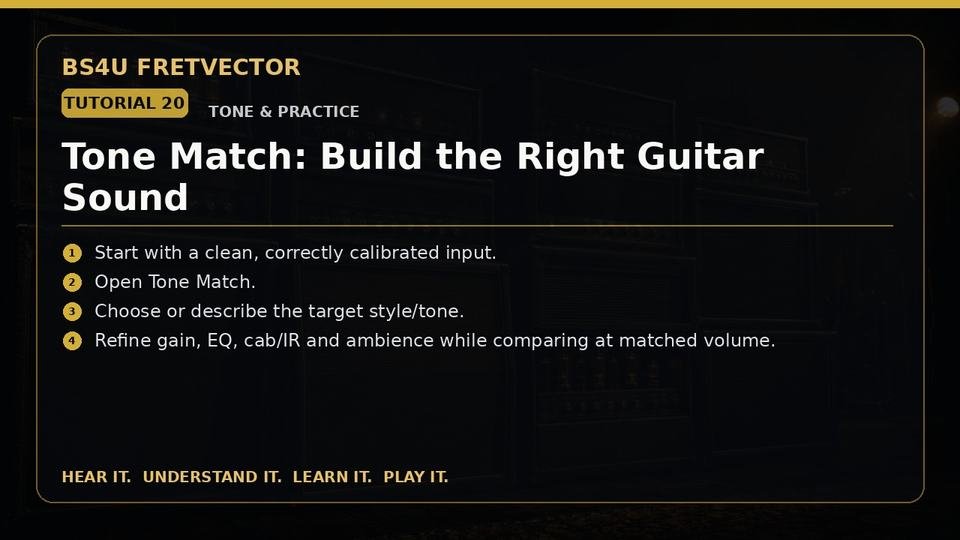
Tone Match: Build the Right Guitar SoundCustomer Tutorial 20
Tutorial 20 • 8 min

Tone Match: Build the Right Guitar Sound

Start with a clean input and shape a usable target tone.

Follow the lesson steps
  1. Start with the clean guitar input you calibrated earlier.
  2. Open Tone Match and choose the song or tone target you want to work on.
  3. Select the nearest factory tone or starting style.
  4. Adjust gain, EQ, cabinet or IR choice and ambience one change at a time.
  5. Compare tones at similar volume, then save the version that feels best and carry it into Jam Mode.
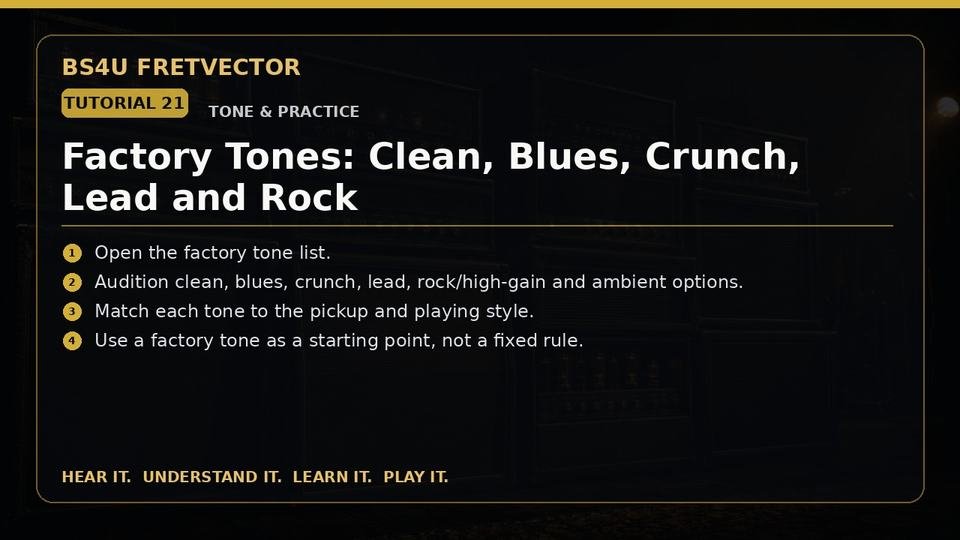
Factory Tones: Clean, Blues, Crunch, Lead and RockCustomer Tutorial 21
Tutorial 21 • 7 min

Factory Tones: Clean, Blues, Crunch, Lead and Rock

Understand and audition the factory tone categories.

Follow the lesson steps
  1. Open the Factory Tones list.
  2. Start with the category closest to your part, such as Clean, Blues, Crunch, Lead, Rock, High Gain or Ambient.
  3. Play the same short phrase through several choices so the comparison is fair.
  4. Choose the best starting tone for your guitar and pickup.
  5. Fine-tune it in Tone Match instead of assuming the factory preset must be used unchanged.
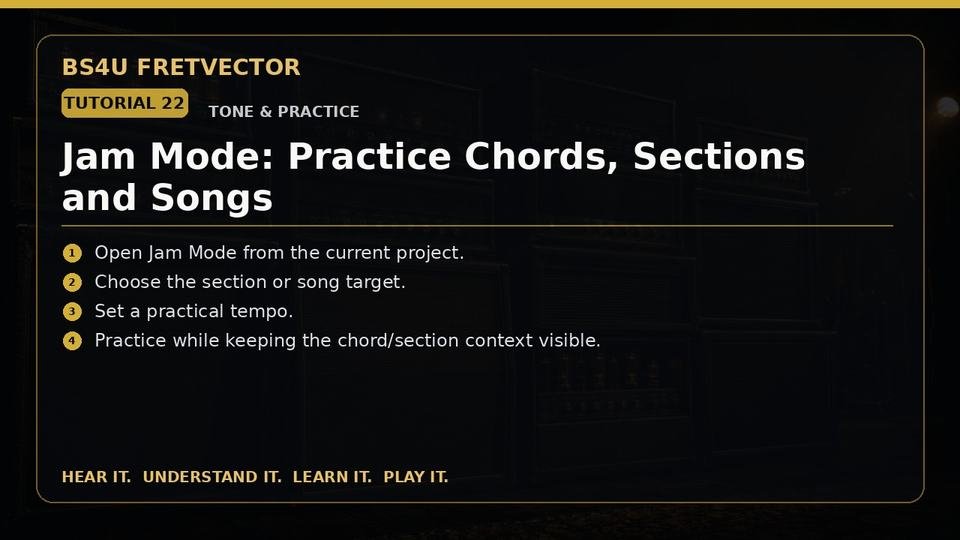
Jam Mode: Practice Chords, Sections and SongsCustomer Tutorial 22
Tutorial 22 • 7 min

Jam Mode: Practice Chords, Sections and Songs

Practice the current musical target without losing project context.

Follow the lesson steps
  1. Open Jam Mode from the current project.
  2. Choose the song or section you want to practice.
  3. Set a tempo that lets you play the part cleanly.
  4. Start playback or the jam session and keep the chord or section context visible while you play.
  5. When the part is comfortable, raise the tempo or move directly to Recording Studio.
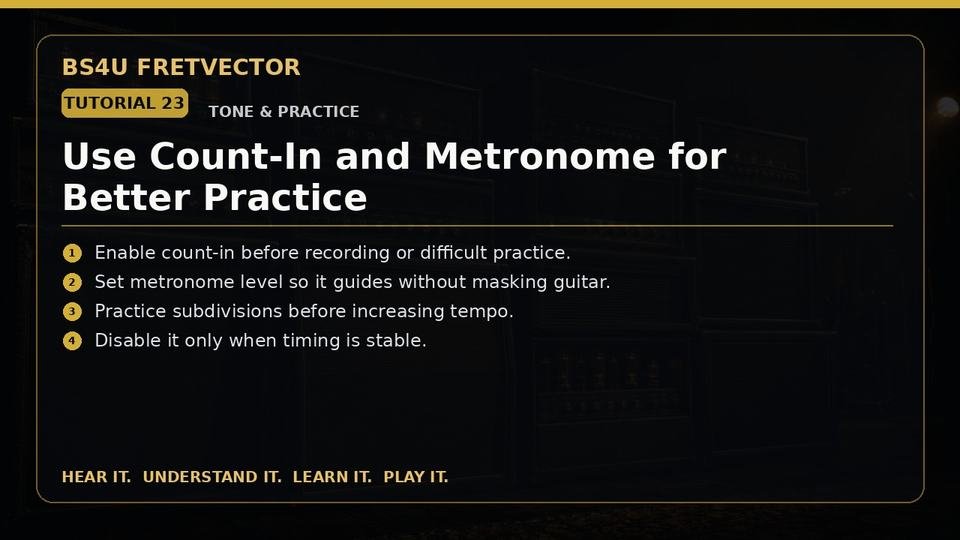
Use Count-In and Metronome for Better PracticeCustomer Tutorial 23
Tutorial 23 • 5 min

Use Count-In and Metronome for Better Practice

Improve timing with count-in, click and tempo control.

Follow the lesson steps
  1. Open the timing controls in Jam Mode or Recording Studio.
  2. Turn on Count-In so you have time to prepare before the section begins.
  3. Turn on the Metronome and set its level so you can hear it without covering the guitar.
  4. Practice the rhythm at a slower tempo and lock onto the click.
  5. Raise the tempo gradually, and keep the count-in enabled when you move into recording.

Recording

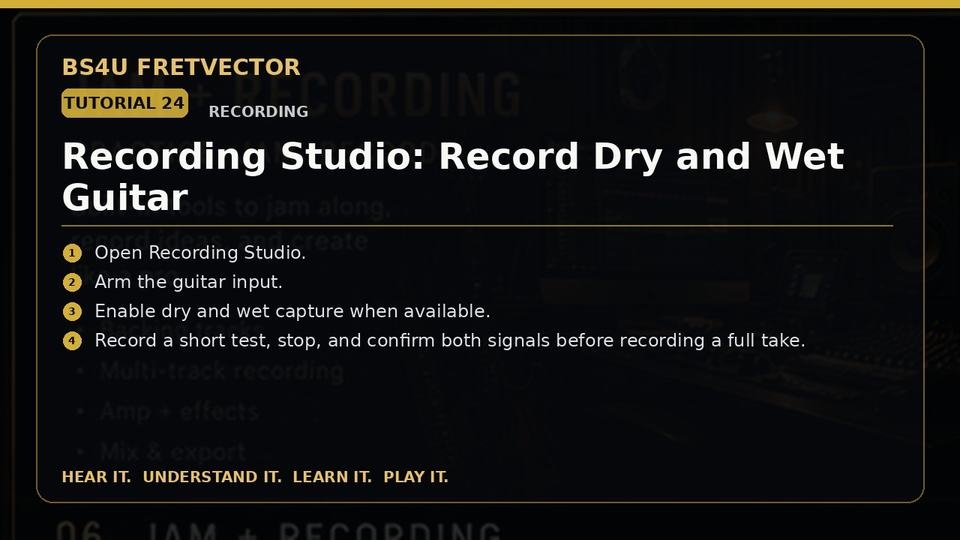
Recording Studio: Record Dry and Wet GuitarCustomer Tutorial 24
Tutorial 24 • 8 min

Recording Studio: Record Dry and Wet Guitar

Capture both dry and processed guitar paths.

Follow the lesson steps
  1. Open Recording Studio and select the guitar input you already tested.
  2. Arm the guitar track for recording.
  3. Enable dry recording and wet or processed recording when both options are available.
  4. Record a short test phrase and stop.
  5. Play back both paths. Once you confirm the dry safety track and the processed tone are present, record the full take.
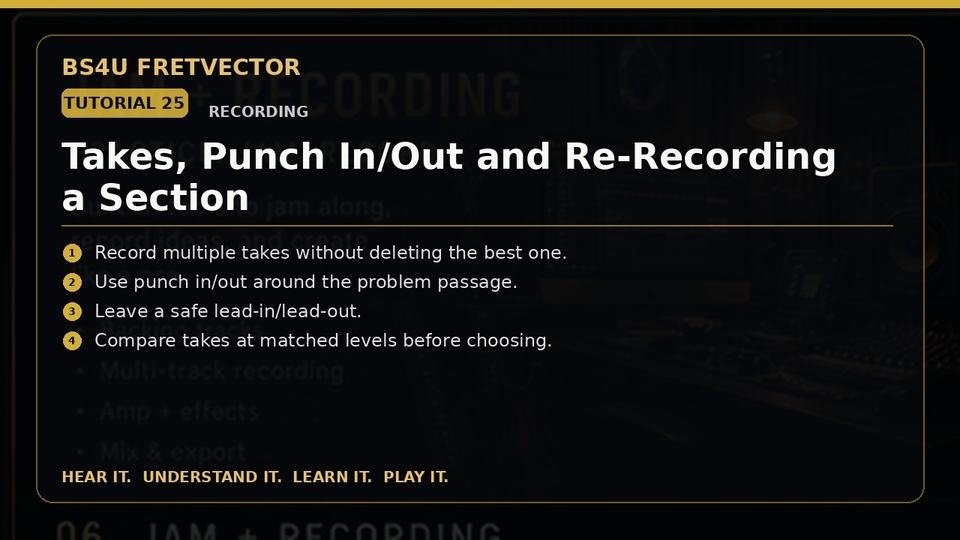
Takes, Punch In/Out and Re-Recording a SectionCustomer Tutorial 25
Tutorial 25 • 7 min

Takes, Punch In/Out and Re-Recording a Section

Manage multiple takes and repair problem sections.

Follow the lesson steps
  1. Record your first complete take and keep it instead of immediately recording over it.
  2. Create another take when you want a different performance.
  3. If only one passage needs repair, set the punch-in and punch-out points around that section.
  4. Start playback early enough to get into the feel before the punch point.
  5. Compare the takes at similar level and keep the performance that sounds and feels best.
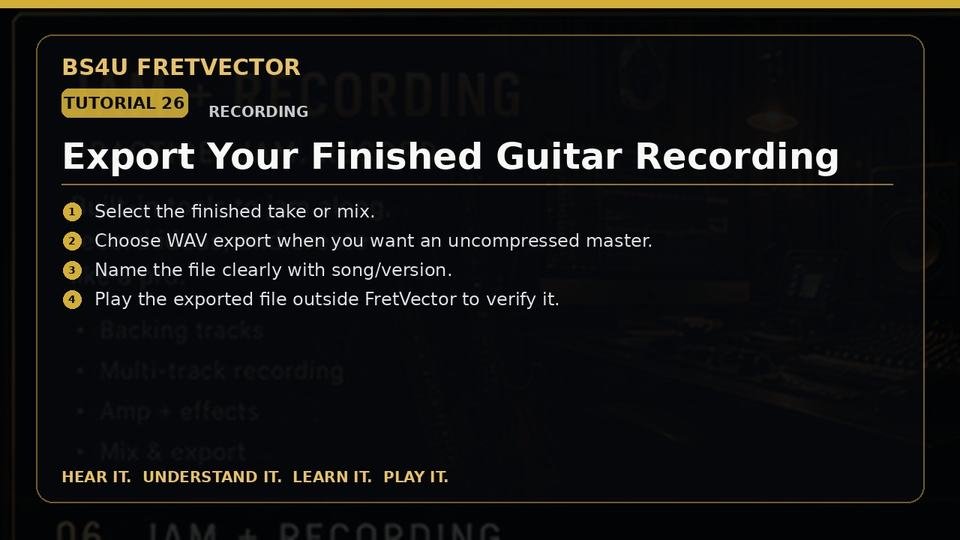
Export Your Finished Guitar RecordingCustomer Tutorial 26
Tutorial 26 • 5 min

Export Your Finished Guitar Recording

Export and verify your completed guitar recording.

Follow the lesson steps
  1. Select the finished take or mix in Recording Studio.
  2. Choose Export and select WAV when you want an uncompressed master file.
  3. Give the file a clear name that includes the song and version.
  4. Choose the destination folder and complete the export.
  5. Play the exported file in another audio player to confirm that it opens, contains the full performance and has the expected level.

AI & YouTube

YouTube Learning: Use a Video as Your Song ReferenceCustomer Tutorial 27
Tutorial 27 • 7 min

YouTube Learning: Use a Video as Your Song Reference

Save a YouTube reference inside the learning workflow.

Follow the lesson steps
  1. Open YouTube Learning inside your FretVector project.
  2. Paste or open the YouTube video you want to use as a lesson, performance or tone reference.
  3. Save the reference with the current project.
  4. Use the video to identify the section, technique or sound you want to learn.
  5. Keep the video as a reference only; FretVector does not need to download the YouTube file.
Send a YouTube Reference to FretSync, Coach, Tone and JamCustomer Tutorial 28
Tutorial 28 • 7 min

Send a YouTube Reference to FretSync, Coach, Tone and Jam

Move the same reference through the connected practice tools.

Follow the lesson steps
  1. Open the saved YouTube Learning reference.
  2. Choose FretSync when you want to map the musical target to the fretboard.
  3. Choose Guitar Coach when you want a practice plan for the same target.
  4. Open Tone Match or Jam Mode when you are ready to work on sound and performance.
  5. Move to Recording Studio when you are ready to capture your version of the part.
FretVector AI Guitar Assistant: Best Questions to AskCustomer Tutorial 29
Tutorial 29 • 8 min

FretVector AI Guitar Assistant: Best Questions to Ask

Ask useful project-aware questions and verify musical suggestions.

Follow the lesson steps
  1. Open the AI Guitar Assistant while your song project is active.
  2. Ask about the exact section, chord, tab measure, technique or tone problem you are working on.
  3. Include details such as the current key, chord or fretboard position when they matter.
  4. Ask for a short practice sequence or an alternative fingering when you need a practical answer.
  5. Play and verify the suggestion; use AI as assistance, not as a substitute for listening and checking the music.
AI Tone Guidance: Get Better Sound Without GuessingCustomer Tutorial 30
Tutorial 30 • 6 min

AI Tone Guidance: Get Better Sound Without Guessing

Use real rig context to get more useful tone guidance.

Follow the lesson steps
  1. Open the AI tone help or AI Guitar Assistant from the current tone project.
  2. Describe your actual guitar, pickup, interface and the sound you are trying to reach.
  3. Ask for the most important changes first instead of requesting dozens of settings at once.
  4. Make one recommended change and play the same phrase again.
  5. Keep the change only if it improves the sound at a similar listening level.

Advanced Workflow

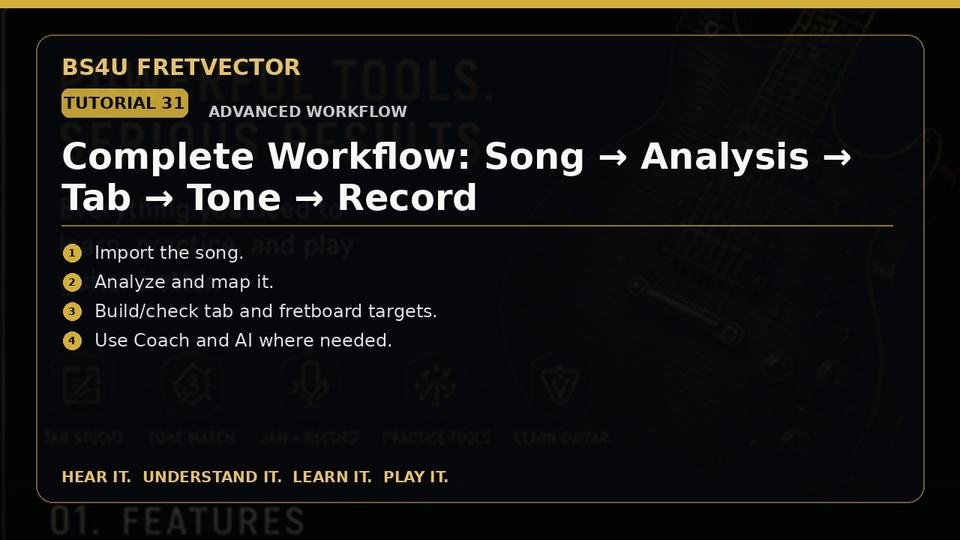
Complete Workflow: Song to Analysis to Tab to Tone to RecordCustomer Tutorial 31
Tutorial 31 • 12 min

Complete Workflow: Song to Analysis to Tab to Tone to Record

See the entire FretVector workflow in one complete session.

Follow the lesson steps
  1. Create a project and import the song you want to learn.
  2. Run Forge Analyze, review BPM, key, chords and sections, then create stems if you need practice separation.
  3. Use RockWheel, Tab Studio, FretSync and Guitar Coach to understand and learn the part.
  4. Build the tone in Tone Match and practice the song or section in Jam Mode.
  5. Open Recording Studio, capture dry and wet guitar, choose the best take and export the finished performance.

Troubleshooting

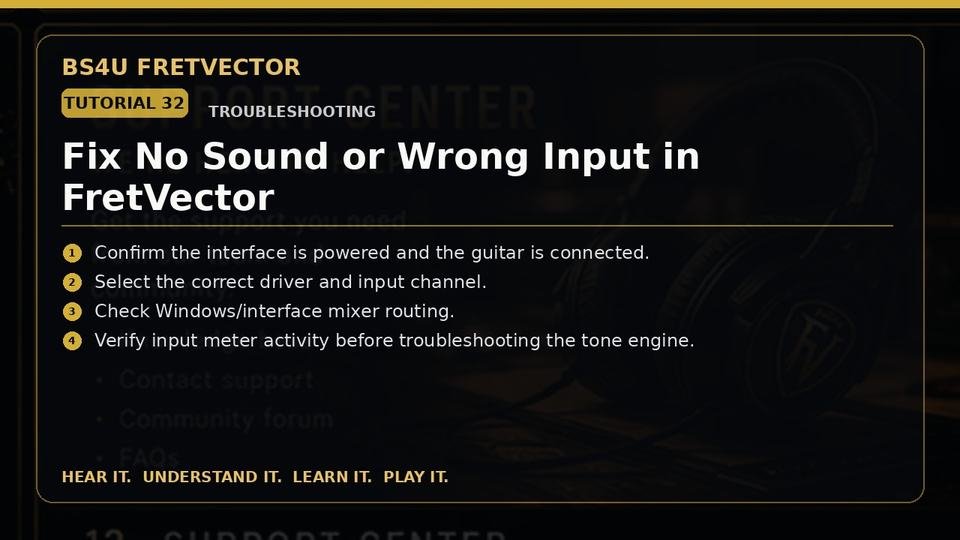
Fix No Sound or Wrong Input in FretVectorCustomer Tutorial 32
Tutorial 32 • 7 min

Fix No Sound or Wrong Input in FretVector

Troubleshoot driver, device, input and monitoring problems.

Follow the lesson steps
  1. Confirm that the guitar is connected to the interface and the interface is powered on.
  2. Open Audio Settings and select the correct ASIO driver.
  3. Choose the physical input where the guitar cable is connected and the correct output for your headphones or speakers.
  4. Play the guitar and watch the input meter. If the meter moves but you hear nothing, check output routing and monitoring.
  5. If the meter does not move, check the interface gain, cable and selected input before changing tone settings.
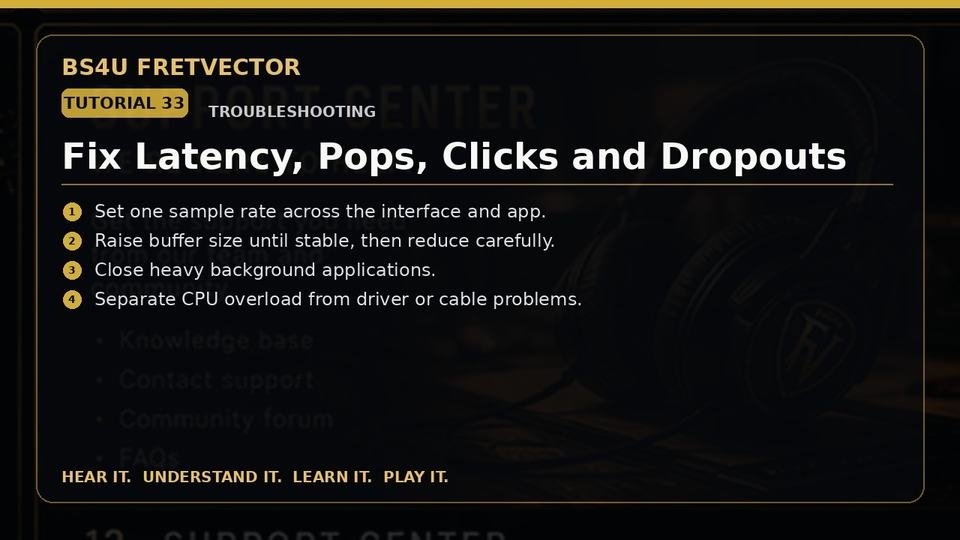
Fix Latency, Pops, Clicks and DropoutsCustomer Tutorial 33
Tutorial 33 • 7 min

Fix Latency, Pops, Clicks and Dropouts

Balance buffer size, sample rate, CPU load and driver stability.

Follow the lesson steps
  1. Open Audio Settings and confirm that FretVector and the audio interface use the same sample rate.
  2. Raise the ASIO buffer size if you hear pops, clicks or dropouts.
  3. Close heavy background programs if the computer is overloaded.
  4. Once audio is stable, lower the buffer one step at a time until latency feels comfortable.
  5. If problems continue even at a larger buffer, update or reinstall the manufacturer's ASIO driver and test the interface again.
Fix License Activation and Device Limit ProblemsCustomer Tutorial 34
Tutorial 34 • 6 min

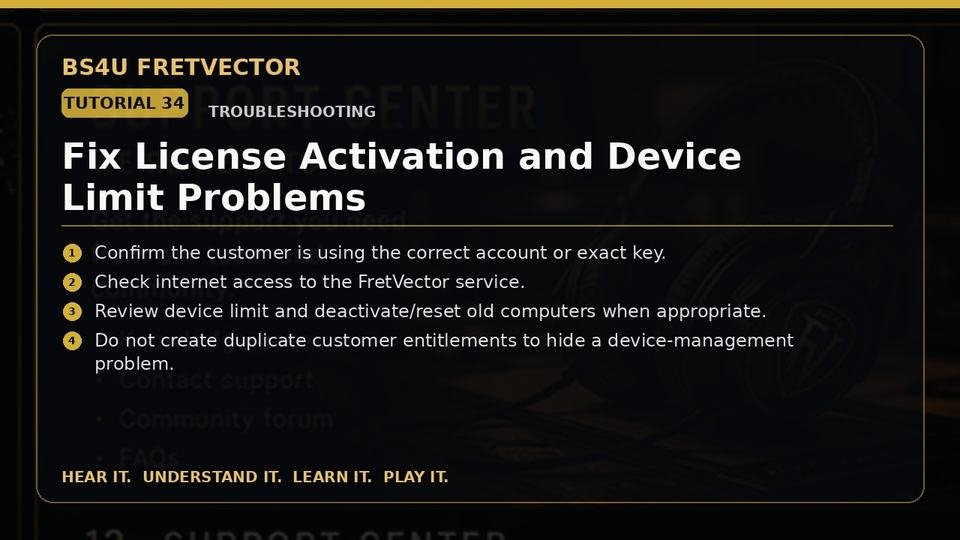
Fix License Activation and Device Limit Problems

Resolve account, key and device-management problems.

Follow the lesson steps
  1. Confirm that you are signing in with the account used to purchase FretVector or that you copied the exact license key.
  2. Make sure the computer has normal internet access during activation.
  3. If the message says the device limit is reached, deactivate an old computer when possible.
  4. If you replaced or lost access to an old computer, open the Support Center and request a device reset.
  5. After the reset, return to FretVector and activate the current computer again.
Fix AI, YouTube or Online Service Connection ProblemsCustomer Tutorial 35
Tutorial 35 • 6 min

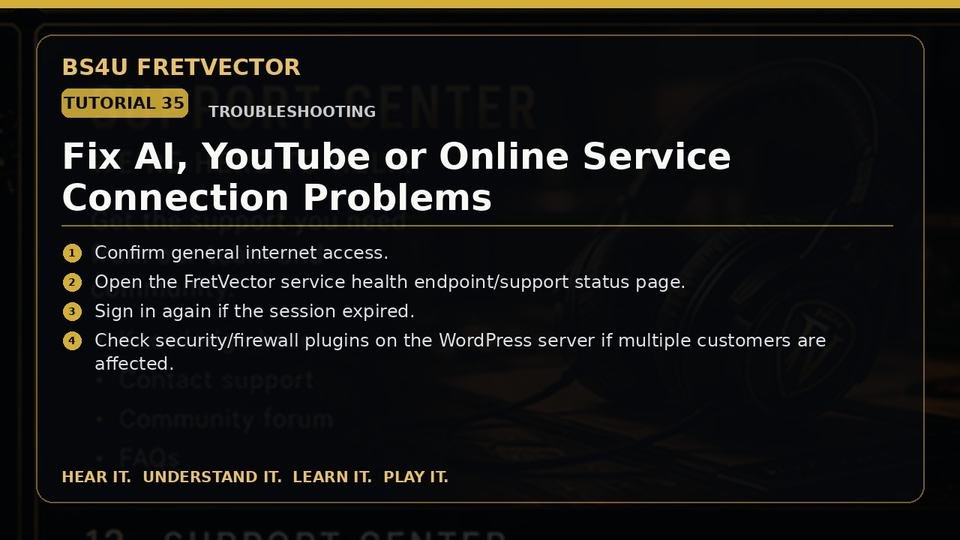
Fix AI, YouTube or Online Service Connection Problems

Check internet, login, service health and security blocking.

Follow the lesson steps
  1. Confirm that normal websites open on the same computer.
  2. Sign out and back in to the FretVector online feature if your session has expired.
  3. For YouTube Learning, confirm that the video opens normally in your browser.
  4. For AI, confirm that your FretVector license is active and the online service is available.
  5. If several online features fail at the same time, check the FretVector Support Center before changing local audio or project settings.
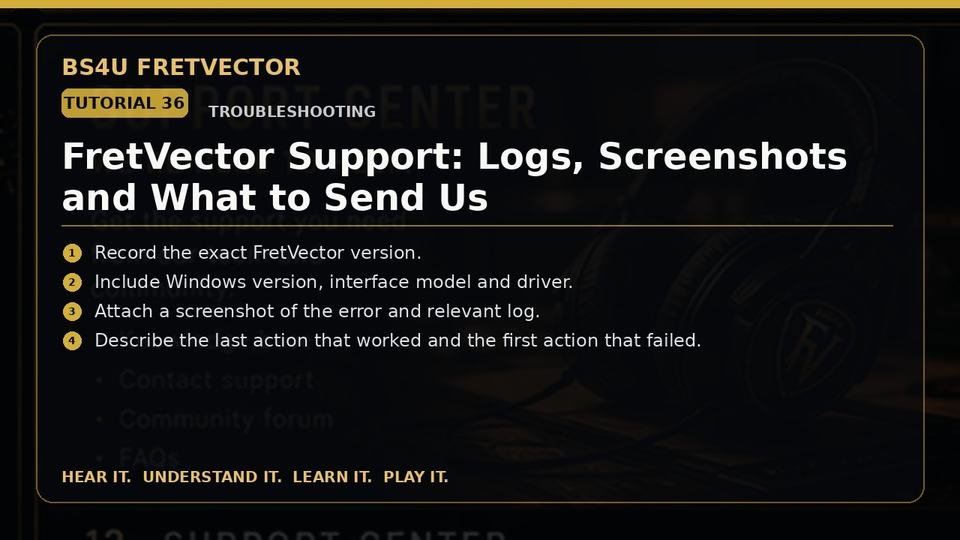
FretVector Support: Logs, Screenshots and What to Send UsCustomer Tutorial 36
Tutorial 36 • 5 min

FretVector Support: Logs, Screenshots and What to Send Us

Prepare a useful support request so problems can be solved faster.

Follow the lesson steps
  1. Open FretVector and write down the exact app version.
  2. Write down your Windows version and, for audio problems, your interface model, ASIO driver, sample rate, buffer size and selected input.
  3. Take a screenshot of the error or unexpected screen.
  4. Describe the last action that worked and the first action that failed.
  5. Open the FretVector Support Center, submit those details and attach the screenshot or log. Never send passwords, full card numbers or private API keys.

About the tutorial videos

The installable WordPress theme intentionally does not contain the MP4 files. Keeping video media outside the theme prevents WordPress/PHP upload timeouts such as 504 Gateway Time-out. Upload the supplied customer tutorial MP4s to YouTube (recommended) or WordPress Media Library, then paste each published URL into Appearance → FretVector Site Setup.

Need help with BS4U FretVector? Support Center  |  support@bs4ufretvector.com